環境
OS: windows7 64bit
IDE: Arduino 1.6.9
データシート
[]DS18B20データシート
ライブラリ
[]GitHub – PaulStoffregen/OneWire: Library for Dallas/Maxim 1-Wire Chips
[]GitHub – milesburton/Arduino-Temperature-Control-Library: Arduino plug and go library for the Maxim (previously Dallas) DS18B20 (and similar) temperature ICs
サンプル
上記でダウンロードした「GitHub – PaulStoffregen/OneWire: Library for Dallas/Maxim 1-Wire Chips」の例を動かしてみる。
フォルダ:
「examples」>「DS18x20_Temperature」>「DS18x20_Temperature.pde」
|
1 2 3 4 5 6 7 8 9 10 11 12 13 14 15 16 17 18 19 20 21 22 23 24 25 26 27 28 29 30 31 32 33 34 35 36 37 38 39 40 41 42 43 44 45 46 47 48 49 50 51 52 53 54 55 56 57 58 59 60 61 62 63 64 65 66 67 68 69 70 71 72 73 74 75 76 77 78 79 80 81 82 83 84 85 86 87 88 89 90 91 92 93 94 95 96 97 98 99 100 101 102 103 104 105 106 107 108 109 110 111 112 |
#include <OneWire.h> // OneWire DS18S20, DS18B20, DS1822 Temperature Example // // http://www.pjrc.com/teensy/td_libs_OneWire.html // // The DallasTemperature library can do all this work for you! // http://milesburton.com/Dallas_Temperature_Control_Library OneWire ds(10); // on pin 10 (a 4.7K resistor is necessary) void setup(void) { Serial.begin(9600); } void loop(void) { byte i; byte present = 0; byte type_s; byte data[12]; byte addr[8]; float celsius, fahrenheit; if ( !ds.search(addr)) { Serial.println("No more addresses."); Serial.println(); ds.reset_search(); delay(250); return; } Serial.print("ROM ="); for( i = 0; i < 8; i++) { Serial.write(' '); Serial.print(addr[i], HEX); } if (OneWire::crc8(addr, 7) != addr[7]) { Serial.println("CRC is not valid!"); return; } Serial.println(); // the first ROM byte indicates which chip switch (addr[0]) { case 0x10: Serial.println(" Chip = DS18S20"); // or old DS1820 type_s = 1; break; case 0x28: Serial.println(" Chip = DS18B20"); type_s = 0; break; case 0x22: Serial.println(" Chip = DS1822"); type_s = 0; break; default: Serial.println("Device is not a DS18x20 family device."); return; } ds.reset(); ds.select(addr); ds.write(0x44, 1); // start conversion, with parasite power on at the end delay(1000); // maybe 750ms is enough, maybe not // we might do a ds.depower() here, but the reset will take care of it. present = ds.reset(); ds.select(addr); ds.write(0xBE); // Read Scratchpad Serial.print(" Data = "); Serial.print(present, HEX); Serial.print(" "); for ( i = 0; i < 9; i++) { // we need 9 bytes data[i] = ds.read(); Serial.print(data[i], HEX); Serial.print(" "); } Serial.print(" CRC="); Serial.print(OneWire::crc8(data, 8), HEX); Serial.println(); // Convert the data to actual temperature // because the result is a 16 bit signed integer, it should // be stored to an "int16_t" type, which is always 16 bits // even when compiled on a 32 bit processor. int16_t raw = (data[1] << 8) | data[0]; if (type_s) { raw = raw << 3; // 9 bit resolution default if (data[7] == 0x10) { // "count remain" gives full 12 bit resolution raw = (raw & 0xFFF0) + 12 - data[6]; } } else { byte cfg = (data[4] & 0x60); // at lower res, the low bits are undefined, so let's zero them if (cfg == 0x00) raw = raw & ~7; // 9 bit resolution, 93.75 ms else if (cfg == 0x20) raw = raw & ~3; // 10 bit res, 187.5 ms else if (cfg == 0x40) raw = raw & ~1; // 11 bit res, 375 ms //// default is 12 bit resolution, 750 ms conversion time } celsius = (float)raw / 16.0; fahrenheit = celsius * 1.8 + 32.0; Serial.print(" Temperature = "); Serial.print(celsius); Serial.print(" Celsius, "); Serial.print(fahrenheit); Serial.println(" Fahrenheit"); } |
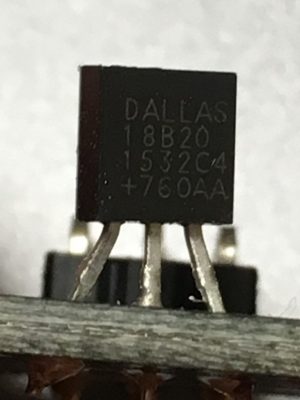
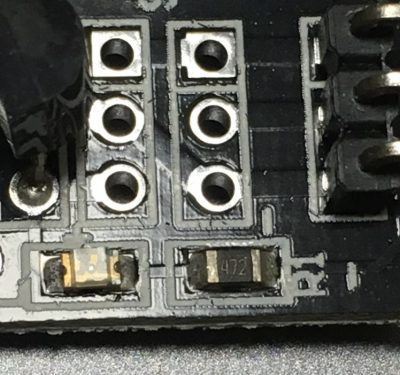
データシートによると、DS18B20には4.7kΩの抵抗が必要。
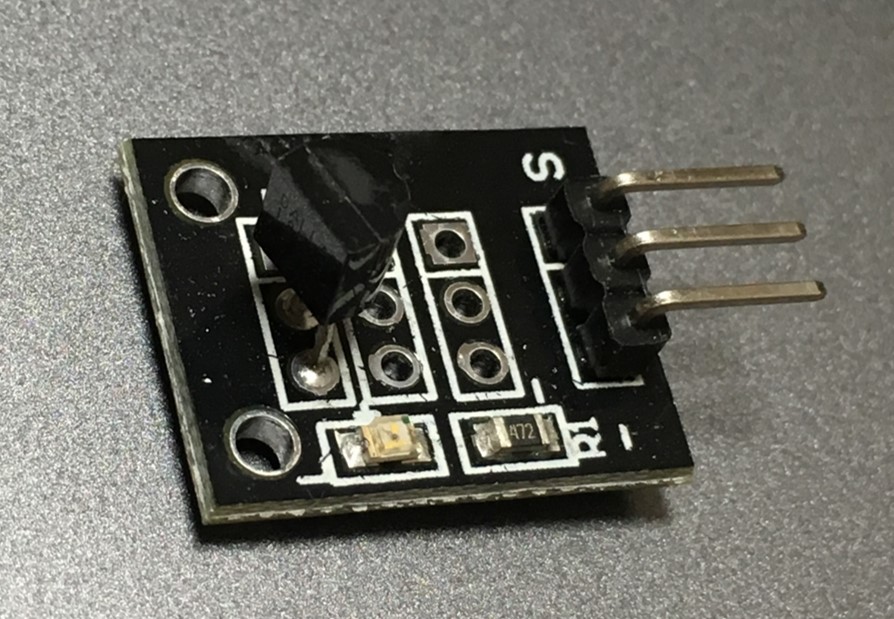
KY-001をよく見ると、どうも抵抗がくっついているように見える。
「S側」: ピンに挿す。
「中側(middle)」: +5V
「-側」: GND
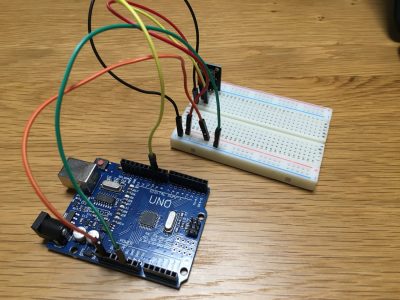
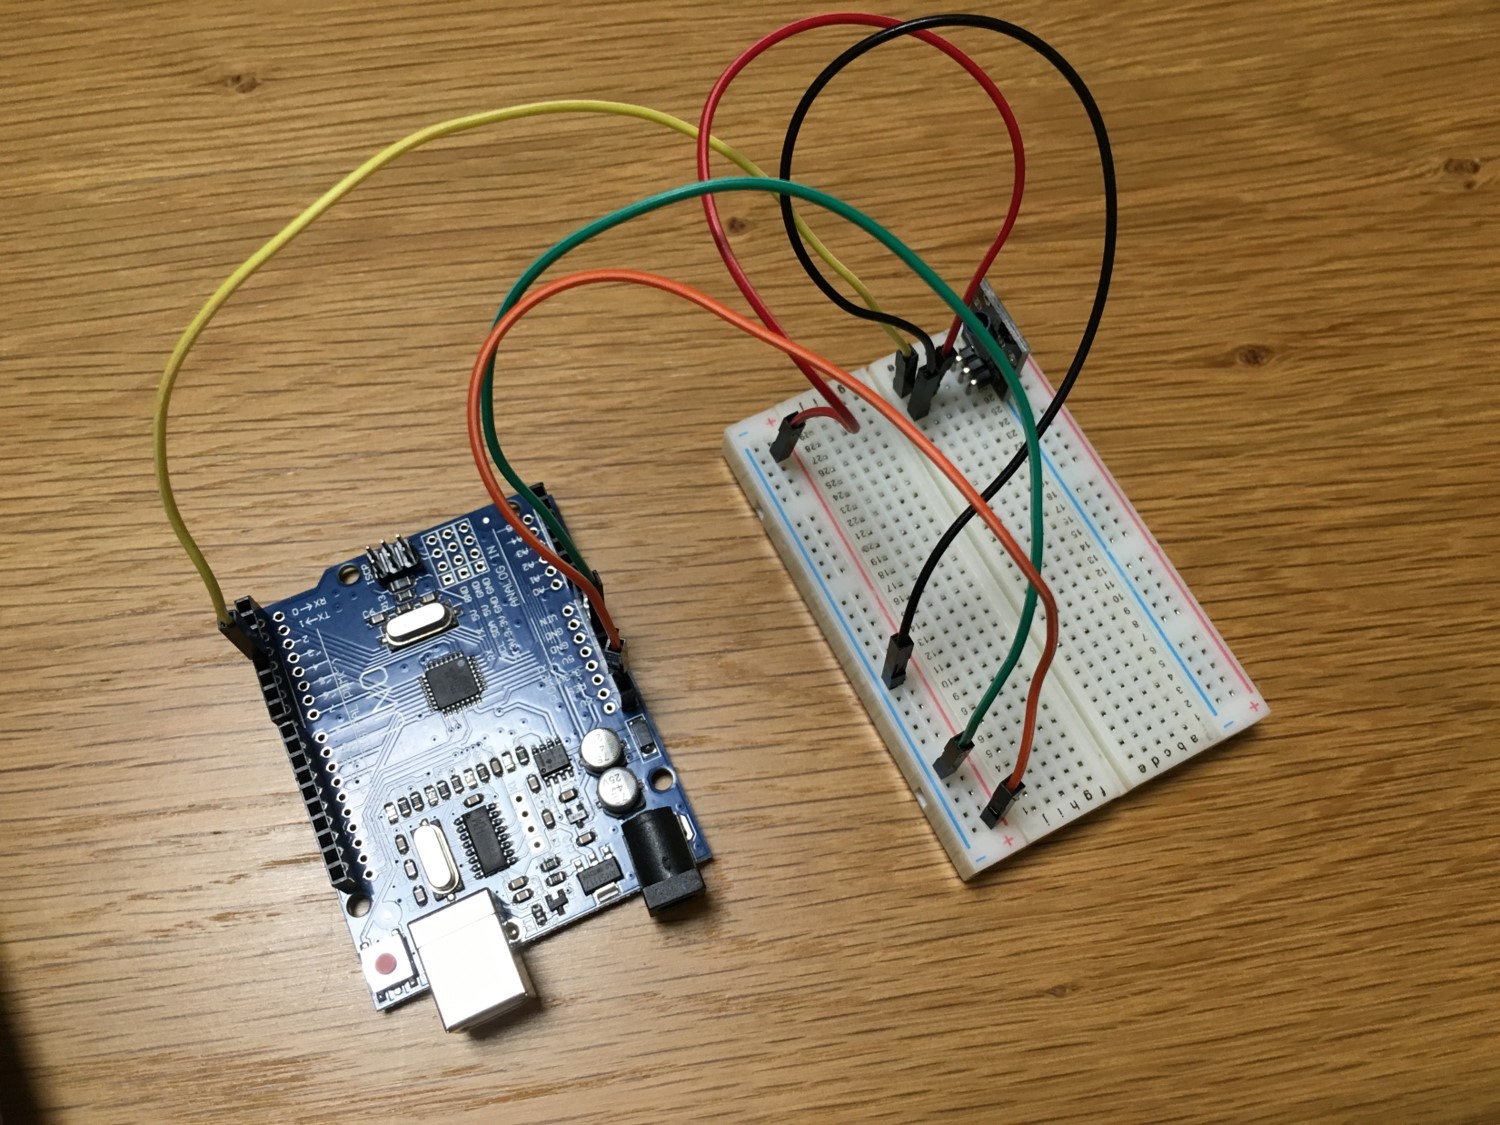
そこでこんな風に接続。
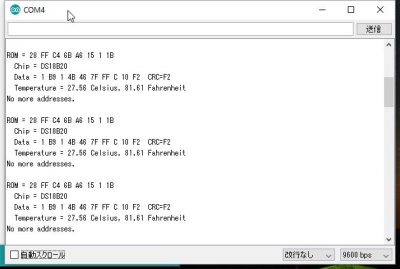
出力はこんな感じ。
最後に『No more addresses.』と出力されているのが気になりますが、とりあえず今のところは。
参考:
DS1820 with onewire libray doesn’t workhttp://forum.arduino.cc/index.php?topic=13679.0
Community: Arduino and Dallas DS1820 (one-wire) – National Instrumentshttps://decibel.ni.com/content/message/61275
Arduino KY-001 Temperature sensor module – TkkrLabhttps://tkkrlab.nl/wiki/Arduino_KY-001_Temperature_sensor_module

コメント