環境
OS: windows7 64bit
IDE: Arduino 1.6.9

概要
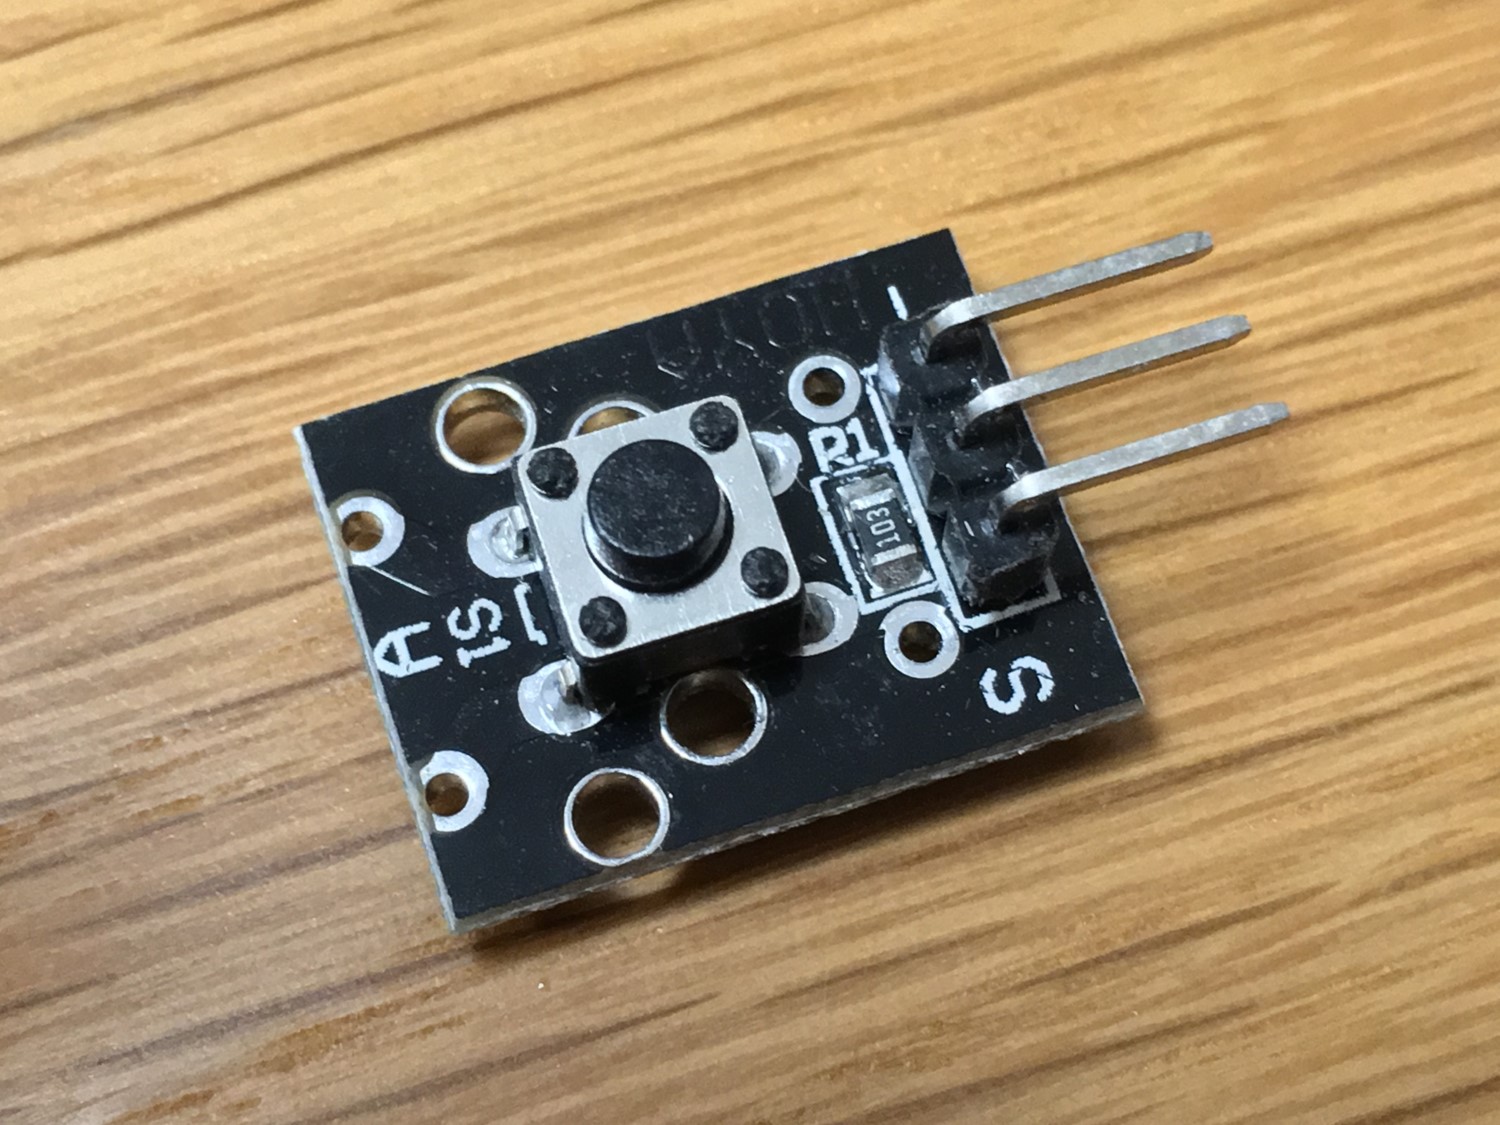
押しボタンスイッチ。
サンプルコード
サンプルその1
|
1 2 3 4 5 6 7 8 9 10 11 12 13 14 15 16 17 18 19 20 |
int Led = 13 ;// define LED Interface int buttonpin = 10; // define the key switch sensor interface int val ;// define numeric variables val void setup () { pinMode (Led, OUTPUT); // define LED as output interface pinMode (buttonpin, INPUT); // define the key switch sensor output interface } void loop () { val = digitalRead (buttonpin); // digital interface will be assigned a value of 3 to read val if (val == HIGH) // When the key switch when the sensor detects a signal, LED flashes { digitalWrite (Led, HIGH); } else { digitalWrite (Led, LOW); } } |
参考(https://tkkrlab.nl/wiki/Arduino_KY-004_Key_switch_module)
サンプルその2
|
1 2 3 4 5 6 7 8 9 10 11 12 13 14 15 16 17 18 19 20 21 22 23 24 25 26 27 28 29 30 31 32 33 |
// pin S = singal // pin middle = +5V // pin - = GND // 押して点灯、もう一度押して消灯。 // バウンジング対策 int Led = 13 ;// define LED Interface int buttonpin = 10; // define the key switch sensor interface int val = 0 ;// 初期値: Ledオフ int old_val = 0; int state = 0; //LEDの状態(0: オフ, 1: オン) void setup () { pinMode (Led, OUTPUT); // define LED as output interface pinMode (buttonpin, INPUT); // define the key switch sensor output interface } void loop () { val = digitalRead (buttonpin); // digital interface will be assigned a value of 3 to read val // 変化を確認 if ((val == HIGH) && (old_val == LOW)) { state = 1- state; delay(100); } old_val = val; if (state == 1) { digitalWrite(Led, HIGH); // LED ON } else { digitalWrite(Led, LOW); } } |
ボタンを押すと点灯したままor消灯したまま。
バウンジング対策。 ただし、なんだか挙動が変か?
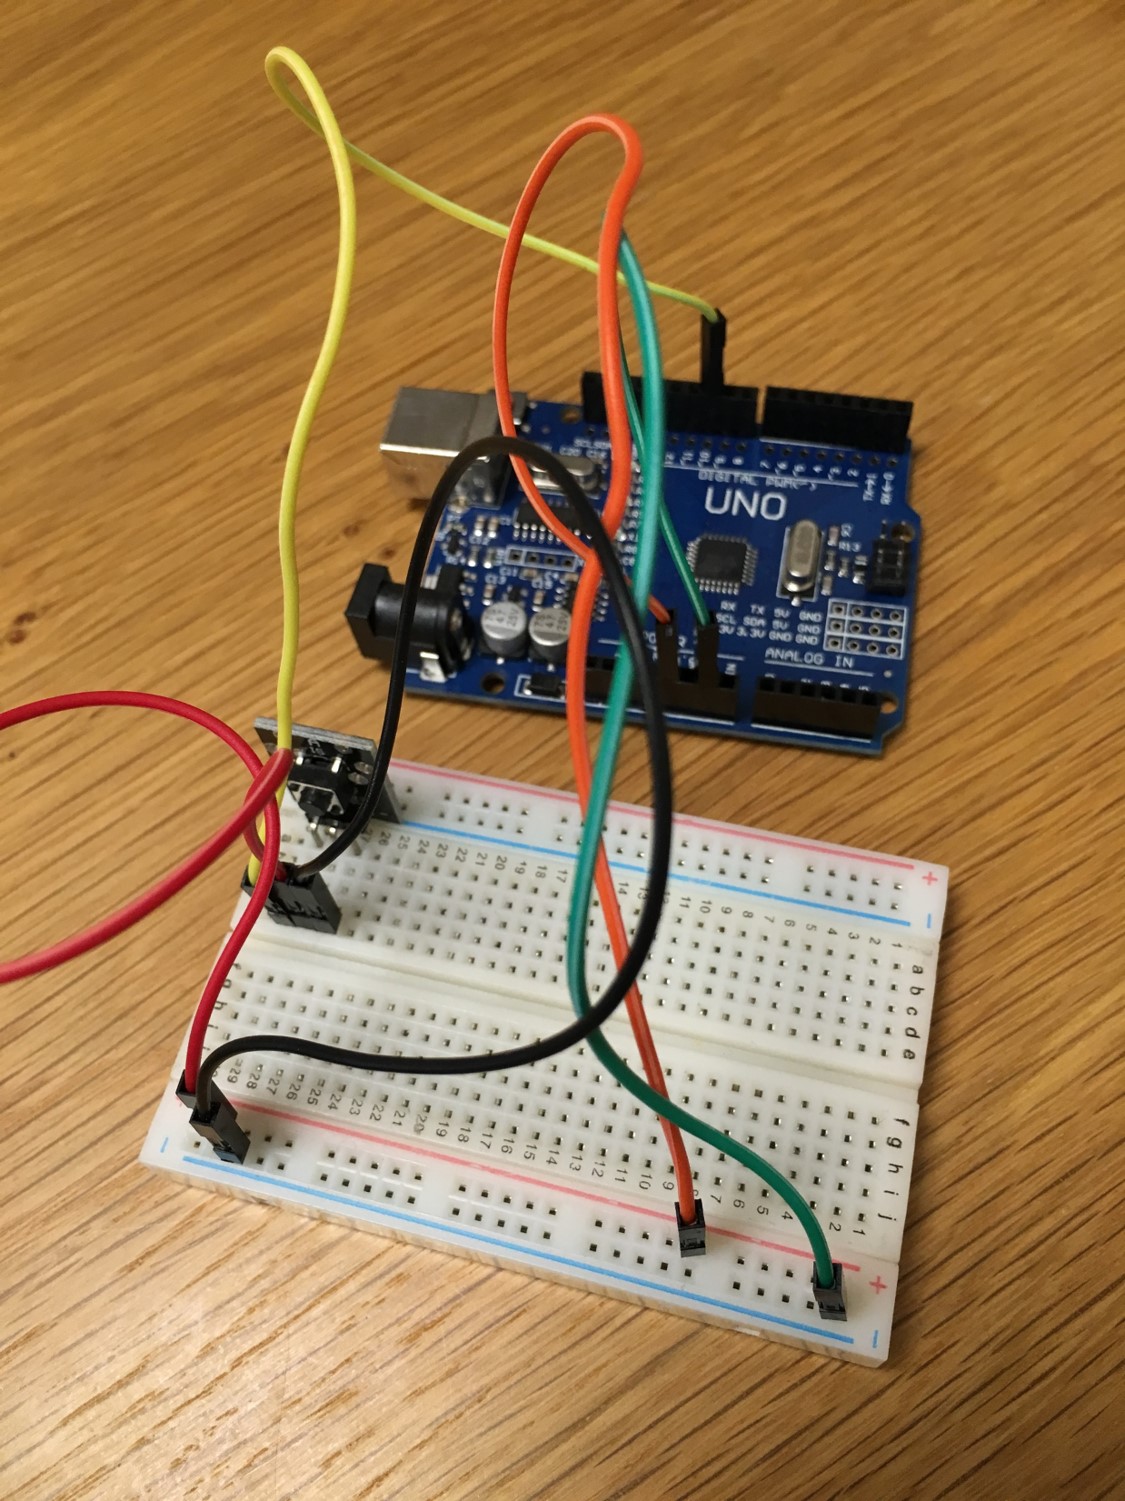
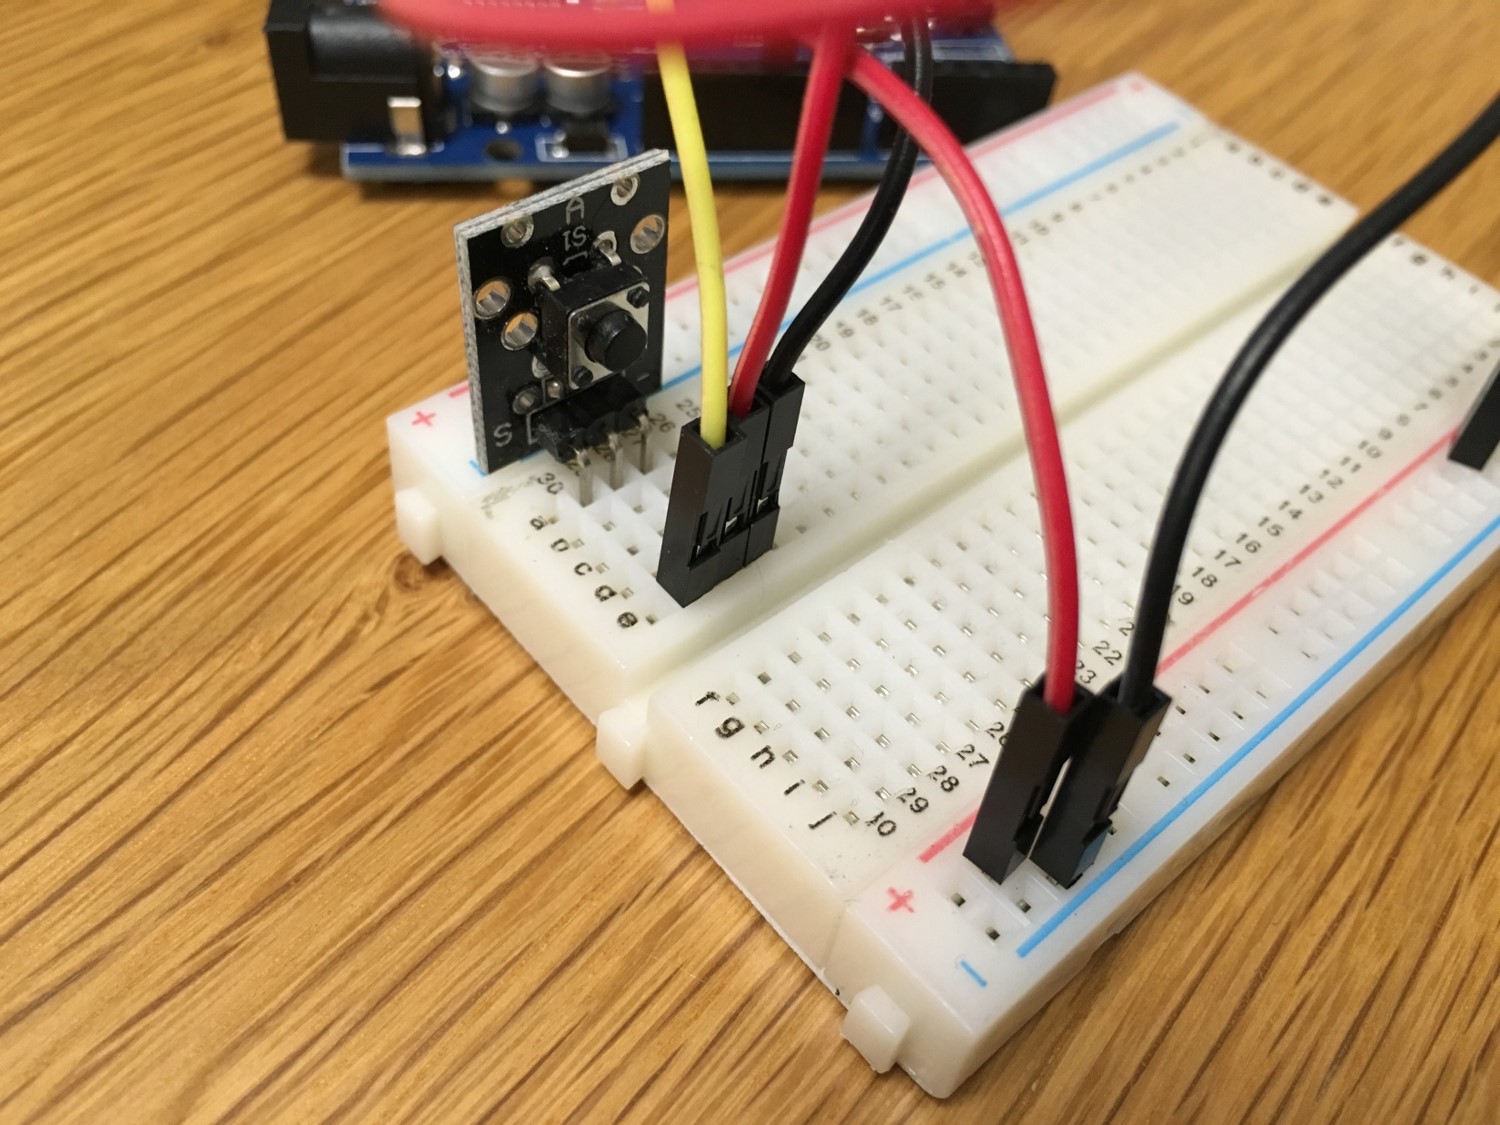
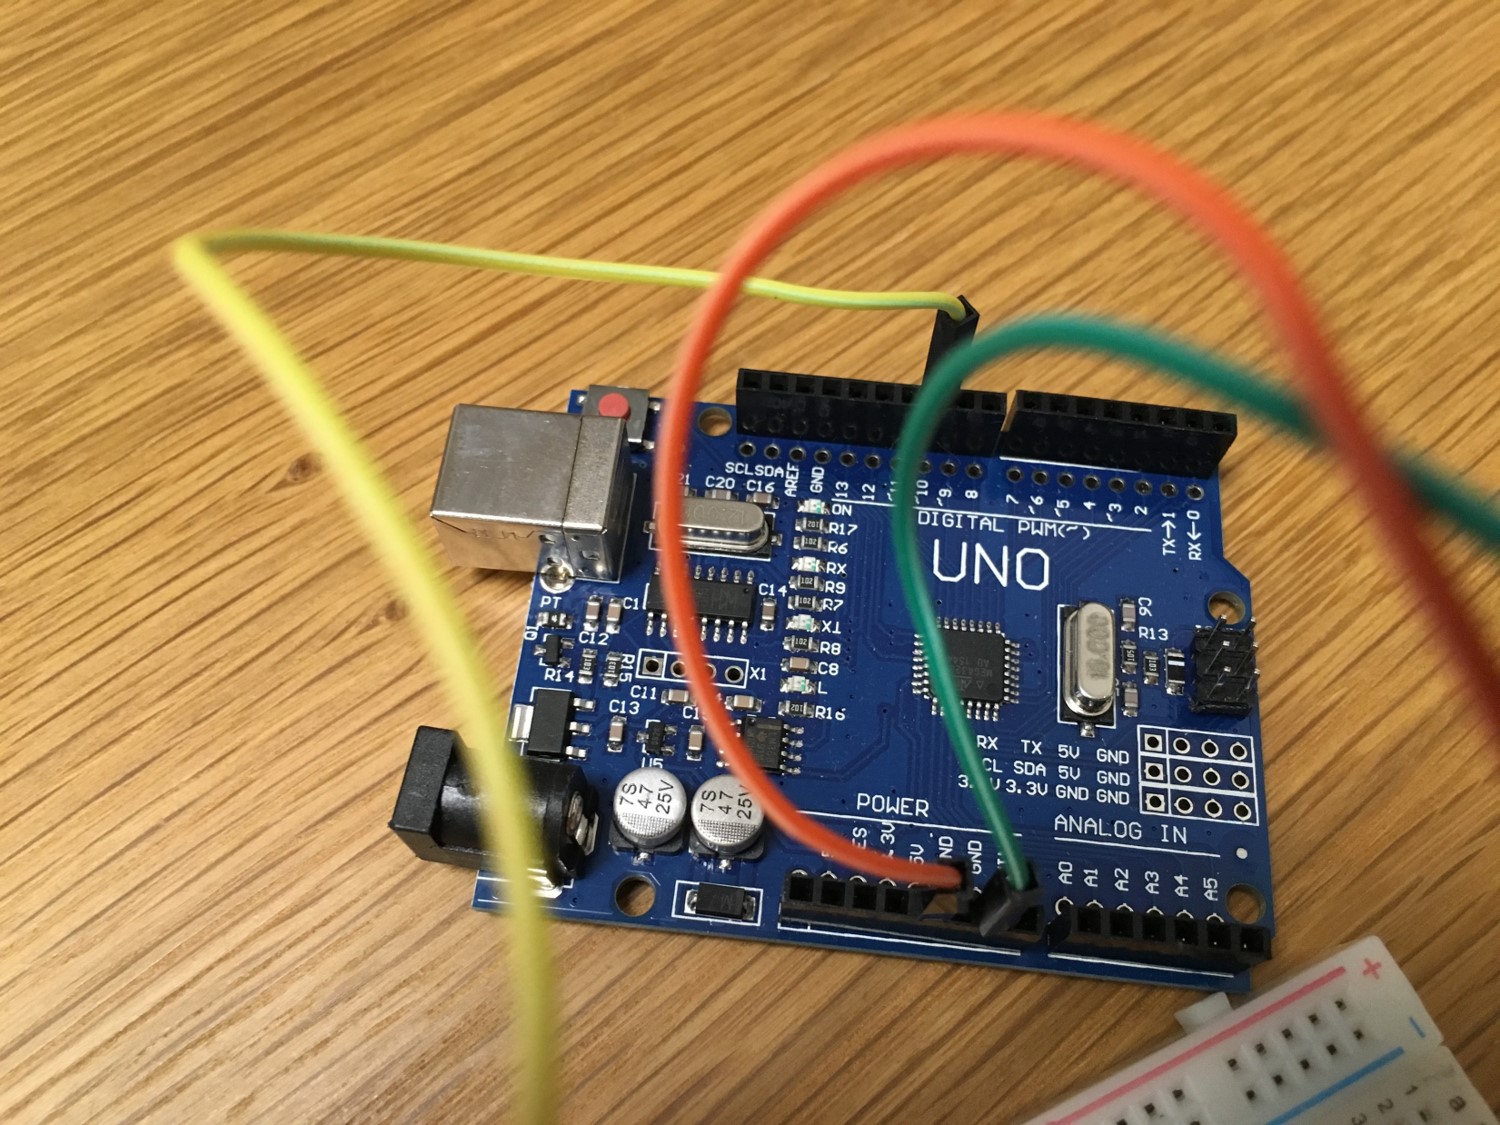
配線
「S側」:シグナル。このサンプルでは10番ピン
「中側(middle)」:+5V
「-側」:GND
スケマ
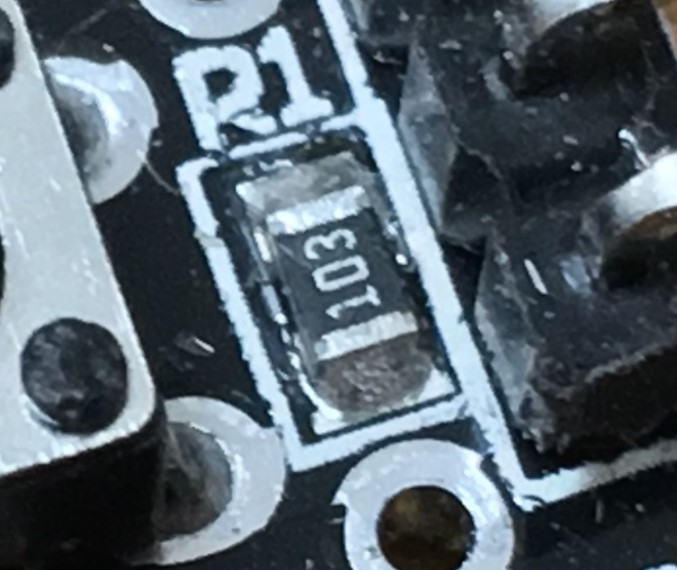
KY-004には抵抗が組み込まれている。
参考
Arduino KY-004 Key switch module – TkkrLabhttps://tkkrlab.nl/wiki/Arduino_KY-004_Key_switch_module

コメント