環境
OS: windows7 64bit
IDE: Arduino 1.6.9
概要
光抵抗モジュール
準備
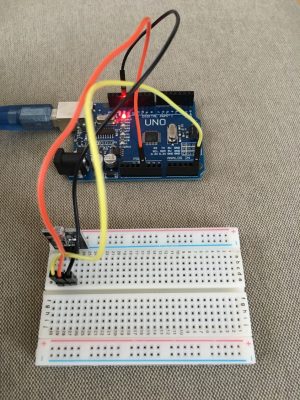
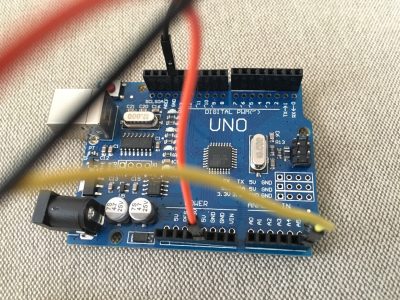
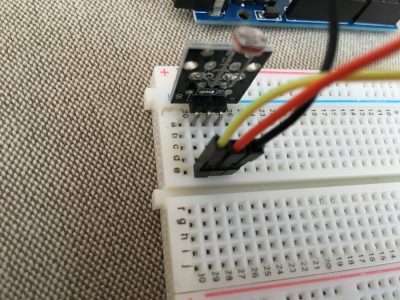
結線
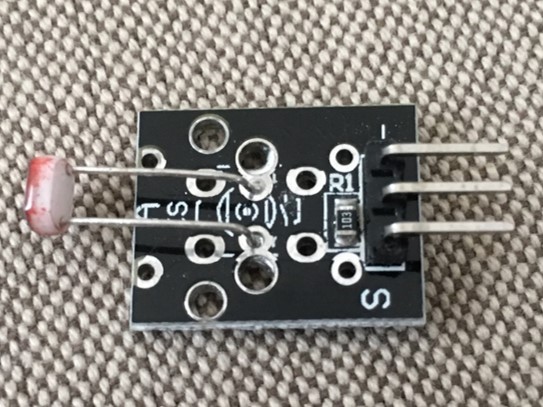
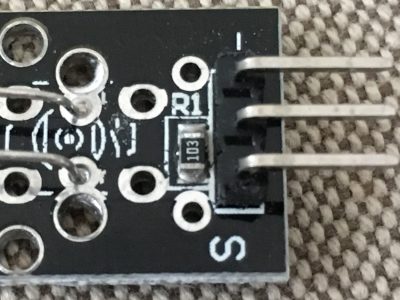
「S側」:シグナル。アナログ値。 下記の例ではA5番ピン
「中側(middle)」:+5V
「-側」:GND
サンプルコード
参考: https://tkkrlab.nl/wiki/Arduino_KY-018_Photo_resistor_module
|
1 2 3 4 5 6 7 8 9 10 11 12 13 14 15 16 17 |
//KY018 Photo resistor module int sensorPin = A5; // select the input pin for the potentiometer int ledPin = 13; // select the pin for the LED int sensorValue = 0; // variable to store the value coming from the sensor void setup() { pinMode(ledPin, OUTPUT); Serial.begin(9600); } void loop() { sensorValue = analogRead(sensorPin); digitalWrite(ledPin, HIGH); delay(sensorValue); digitalWrite(ledPin, LOW); delay(sensorValue); Serial.println(sensorValue, DEC); } |
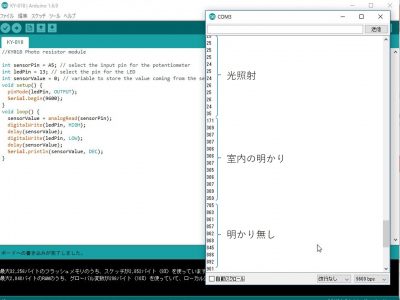
サンプルスケッチを実行してモニタリングしたアナログ値。
センサに光を当てると値が小さくなり、光を遮断すると値が大きくなります。
その他
参考
Arduino KY-018 Photo resistor module – TkkrLabhttps://tkkrlab.nl/wiki/Arduino_KY-018_Photo_resistor_module
コメント